Roof ice melt is a process that can be a little confusing, and it’s easy to understand why. It’s a process that involves melting ice on your roof, which sounds simple enough, but there are a lot of different ways to do it. This article will help you understand how to melt frozen ice from your roof. We will also discuss how to install roof ice melt cable.
Let us take a quick look at the step-by-step process of how to use ice melt on roof.
Step 1: Clear the roof
Clear any excessive debris, dried leaves, twigs, and cement residue from the roof so that it does not cause any blockages that could lead to seepage. Use a flat shovel and clear the roof space completely.
Step 2: Clean the storm drain
It would be best to clear the storm drain before using the ice melt product. Blocked storm drains will not allow the water to flow freely underground, causing far more damage than anticipated.

Safe Thaw
Safe Thaw was created as the ice management solution for tough winter environments. Ideal in commercial and industrial properties, shops, government agencies, bridges, and construction.
Buy NowStep 3: Pre-application
Use a universal ice melt product, such as Safe Thaw, which is safe on any material. Spread it with the help of safety gloves all over the roof before the first snowfall. It will avoid the snow from sticking to the roof surface.
Step 4: Shovel the snow
After the snowfall, use a shovel to remove the excess snow from the roof. It will help avoid lumps forming on the roof and the storm drain.
Step 5: Post application
After removing the excess snow from the rooftop, you can reapply the ice melt that is less potent, such as Safe Thaw, and remove the icy layers from the surface. While applying the ice melt on the roof, you can also learn how to apply ice melt on the car window and windshield to help you avoid any cracks.
100% Salt & Chloride-Free, Fast-Acting Ice Management Solution
How to install roof ice melt cable.
Ice melt cable is a special kind of wire that’s installed on your roof and encased in a rubber sheath. When the temperature drops below freezing, the ice melt cable heats up and melts any ice or snow on top of it so that it doesn’t fall off onto your house or car.
Conclusion
As you know, winter is coming—and it’s going to be a long one. The days are getting shorter, the nights are getting longer, and the temperature is dropping.
If you live in an area where snow is a regular occurrence, then you know how important it is to protect your roof from ice and snow build-up. Hope you’ve got enough tips on how to install roof ice melt cable and how to apply ice melt on roof.
Try Also Our Other Winter Safety Products
Safe Paw
The Original and #1 Selling Pet and Child Safe Ice Melt for over 20 years. Guaranteed environmentally safe – will not harm waterways and sensitive wetlands. Safe Paw can change how winter affects our planet.

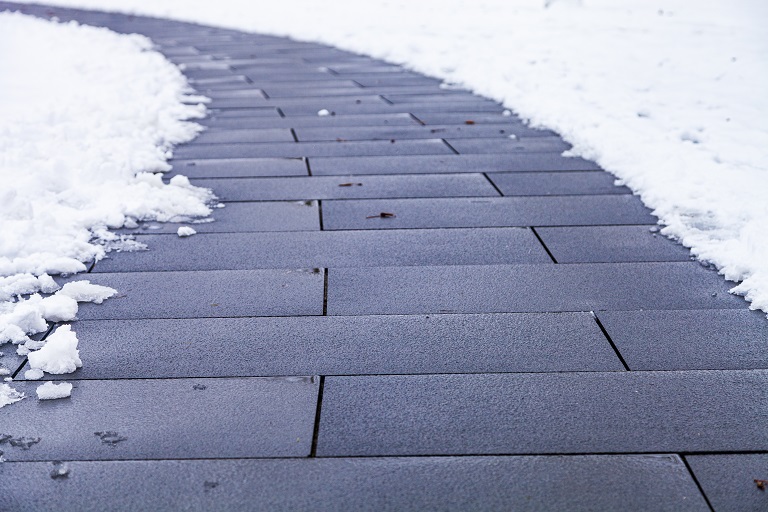
Ice Traction (with Traction Magic™)
Ice Traction is your go-to winter solution for driveways, walkways, parking lots, and even black ice on the road. Unlike salt or ice melts, it delivers instant grip on snow and slippery surfaces with no wait time.
Just spread and go.
Instant Grip. Zero Melt Time.
Total Confidence on Black Ice