If you have ever thought about building your own concrete driveway, now is the time! I’ll walk you through all the steps to help you get started and save some money. The only tools you’ll need are a shovel, trowel, broom, and measuring tape. And if you have access to power tools like a jackhammer or skid steer loader, that will make things easier too. This is a long-term project, but with its clear instructions, you can do it! Don’t forget to keep your driveway clear of snow with the best ice melt to use on concrete.
Planning And Selection Of Materials
To ensure your concrete driveway is beautiful and functional, invest in the proper materials. To begin, you’ll want to prepare for the project by planning and selecting the right materials.
If you’re looking for a driveway that will last for decades, concrete is the way to go. It’s durable and resistant to cracks, chips, and other forms of damage. However, installing concrete is more expensive than paving or brick because it requires more time and expertise to do so correctly.
Excavating The Driveway
You’ll need to excavate the driveway approximately 3 inches deeper than the thickness of your aggregate.
Measure and mark where you want your driveway to end, then break up any soil that isn’t compacted enough to support a layer of gravel over it.
Use an excavator or similar tool (such as a shovel) to remove soil from your marked area, making sure that all of the ground is leveled and compacted before adding gravel.

Safe Thaw
Safe Thaw was created as the ice management solution for tough winter environments. Ideal in commercial and industrial properties, shops, government agencies, bridges, and construction.
Buy NowPreparing For The Pour
Before you start pouring your concrete, make sure you have all the necessary materials on hand. If you use a concrete truck to deliver your mix, ensure it is clean and ready for the job. To ensure proper mixing, use a vibrating plate or drum roller to break up clumps and evenly combine all ingredients.
Finishing The Concrete To Make It Look Nice
Now that your concrete has hardened, you can finish it with a broom. Use it to sweep off any excess concrete and ensure the surface is smooth.
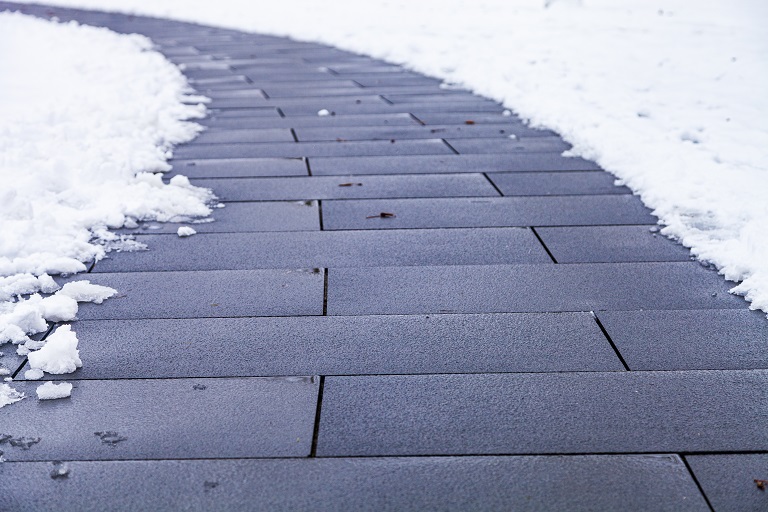
Protect Your Driveway With The Best Ice Melt To Use On Concrete
Additionally, ensure that you keep away from salt and other chemicals that may be harmful over time. Use a chemical-free ice melt. The reason Safe Thaw is considered the best ice melter for patterned concrete is that it’s free from chemicals and toxic-free. It’s a urea-based solution that won’t damage the pavers and won’t harm plants around your patio.
100% Salt & Chloride-Free, Fast-Acting Ice Management Solution
Conclusion
It’s a long-term project, but with a clear step-by-step plan, you’ll be able to build your driveway the right way! We’ve outlined the important parts like planning and selecting materials so that they are not left up to chance but rather planned out ahead of time so nothing gets overlooked when it comes down to actually doing the work yourself instead of hiring someone else who knows what they’re doing (and being able).
Try Also Our Other Winter Safety Products
Safe Paw
The Original and #1 Selling Pet and Child Safe Ice Melt for over 20 years. Guaranteed environmentally safe – will not harm waterways and sensitive wetlands. Safe Paw can change how winter affects our planet.

Ice Traction (with Traction Magic™)
Ice Traction is your go-to winter solution for driveways, walkways, parking lots, and even black ice on the road. Unlike salt or ice melts, it delivers instant grip on snow and slippery surfaces with no wait time.
Just spread and go.
Instant Grip. Zero Melt Time.
Total Confidence on Black Ice