Are you tired of looking at your weathered and damaged concrete driveway? Don’t worry! Resurfacing your concrete driveway can bring it back to life and restore its beauty.
After a harsh winter, it’s common for driveways to suffer from cracks, potholes, and general wear and tear. But with the right knowledge and effort, you can easily revitalize your driveway and make it look brand new again.
To Resurface Concrete Driveway After Winter Damage, Start By Assessing The Damage, Gathering The Necessary Tools And Materials, Preparing The Driveway, Selecting A Suitable Resurfacing Method, And Finally Applying The Resurfacer.
In this blog, we will guide you through resurfacing a concrete driveway step by step. So, say goodbye to unsightly cracks and hello to a smooth, durable, and attractive driveway. Let’s get started!

Safe Thaw
Safe Thaw was created as the ice management solution for tough winter environments. Ideal in commercial and industrial properties, shops, government agencies, bridges, and construction.
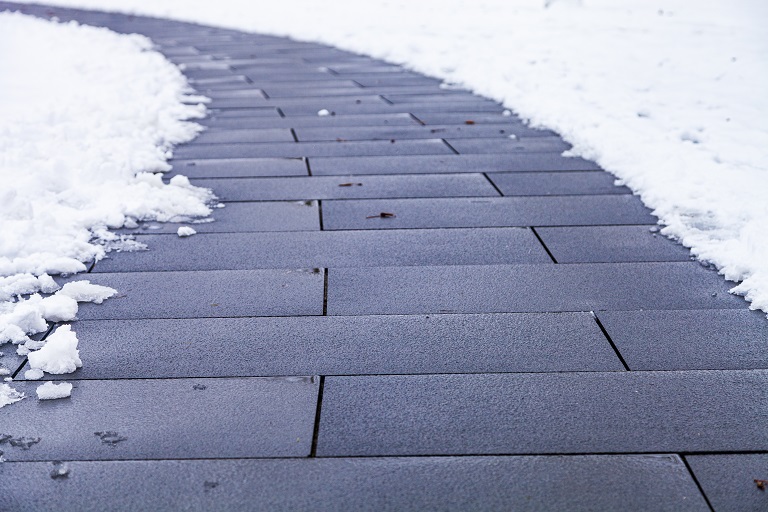
Common Types Of Winter Damage That Can Occur On A Concrete Driveway
Winter can be harsh on concrete driveways, causing various types of damage that affect the surface’s appearance and functionality. Below, we will explore some major types of winter damage commonly observed on concrete driveways.
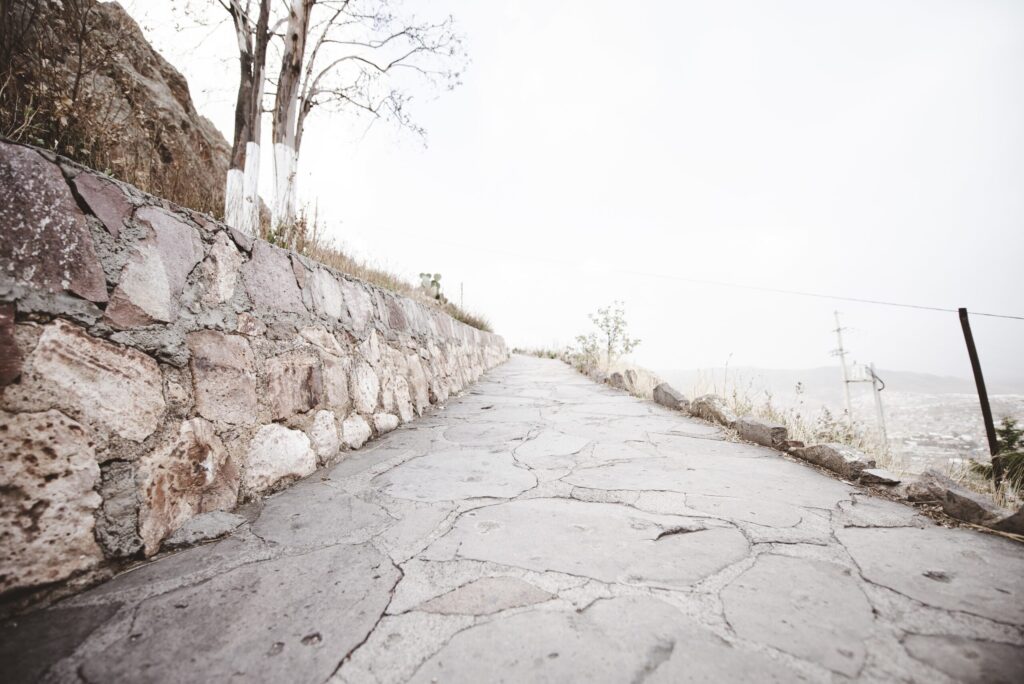
- Cracks: Cracks are a prevalent winter-related problem resulting from freeze-thaw cycles. Water seeps into existing cracks, freezes, and expands, causing the cracks to widen. These cracks can range from small surface cracks to larger, more significant fissures that compromise the structural integrity of the driveway.
- Potholes: Potholes are another common issue caused by freezing and thawing cycles. When water accumulates in existing cracks or beneath the surface, it expands upon freezing, creating voids. The weight of vehicles driving over the weakened areas then leads to the formation of potholes.
- Spalling: Spalling occurs when the top layer of concrete flakes or chips away due to the freeze-thaw process. The repeated expansion and contraction of water within the concrete causes the surface layer to break apart, leaving a rough and deteriorated appearance.
- Surface Erosion: Winter weather, particularly when accompanied by ice melt chemicals, can accelerate surface erosion on concrete driveways. These chemicals, such as deicers, can react with the concrete and cause it to break down, resulting in pitting, scaling, or discoloration.
- Discoloration: Cold weather and exposure to road salt can lead to unsightly discoloration on concrete driveways. The salt and other contaminants can penetrate the surface, causing stains and discoloration that detract from the overall aesthetics of the driveway.
100% Salt & Chloride-Free, Fast-Acting Ice Management Solution
How To Resurface Concrete Driveway After Winter Damage?
Winter weather can cause cracks, potholes, and erosion, but with the right techniques, you can revitalize your driveway and make it look brand new. Here, we will guide you through the step-by-step process of resurfacing a concrete driveway after winter damage.
1. Assessing The Damage
The first step in resurfacing a concrete driveway is to assess the extent of the winter damage. Look for cracks, potholes, and areas of surface erosion. Small cracks can be repaired, while larger ones require more extensive work.
Use a putty knife or similar tool to examine the depth and width of the cracks. Take note of any areas where the concrete has deteriorated significantly. This assessment will help you determine the appropriate resurfacing method and the material you’ll need.
2. Gathering The Tools And Materials
Before you begin the resurfacing process, gather all the necessary tools and materials. You’ll need a pressure washer, a concrete cleaner, a crack filler, a concrete resurfacer, a trowel or squeegee, and a stiff bristle broom.
These items are readily available at hardware stores or online. Ensure you have enough resurfacing material to cover the entire driveway and follow the manufacturer’s instructions for your chosen product.
3. Preparing The Driveway
Proper preparation is crucial for successful concrete driveway resurfacing. Start by thoroughly cleaning the surface with a pressure washer and concrete cleaner. Remove any dirt, debris, or loose material.
Pay special attention to the cracks and potholes, as they need to be filled before resurfacing. Use crack filler to repair the cracks and level the surface. Allow the filler to dry completely before moving on to the next step.
4. Selecting The Resurfacing Method
Different resurfacing methods, such as overlaying, skim coating, or microtopping, are available. The choice depends on the severity of the damage and the desired outcome.
Overlaying involves applying a new layer of concrete over the existing surface, while skim coating requires a thin layer of resurfacer to be spread evenly. Microtopping is ideal for a decorative finish. Consider the advantages and disadvantages of each method before making your decision.
5. Applying The Resurfacer
Once you have chosen the resurfacing method, it’s time to apply the resurfacer. Follow the instructions provided by the manufacturer carefully. Mix the resurfacing material according to the recommended ratio and consistency.
Start at one end of the driveway and use a trowel or squeegee to spread the resurfacer evenly. Work in small sections, ensuring a smooth and uniform application. Once the entire driveway is covered, use a stiff bristle broom to create a textured finish, which improves traction.

Maintenance Tips And Tricks Of A Concrete Driveway To Prevent Winter Damage
Winter can be harsh on concrete driveways, causing damage and deterioration. Here, we will share some valuable tips and tricks to help you protect your concrete driveway during the winter.
Use Effective Ice Melt Solution
Safe Thaw is a reliable ice melt solution that can help prevent winter damage to your concrete driveway. Unlike traditional salt-based ice melters, Safe Thaw is non-corrosive and non-conductive. It effectively melts ice and snow, even in severe climates, without leaving behind any damaging residue. It’s also safe for people, pets, and the environment, as it is non-toxic and environmentally friendly.
Regular Cleaning And Debris Removal
Regularly cleaning your concrete driveway is essential to preventing winter damage. Clear the area of any leaves, branches, or other debris that might collect moisture and lead to cracks. Clear the surface with a brush or leaf blower, then think about pressure washing to remove tough stains and debris.
Sealing For Protection
Applying a high-quality sealer to your concrete driveway before winter can provide an extra layer of protection. Sealing helps to prevent moisture penetration, reduces the chances of cracking and spalling, and enhances the durability of the surface. Choose a sealer specifically designed for use on concrete driveways and follow the manufacturer’s instructions for application.
Proper Snow Removal Techniques
Avoid using metal shovels or sharp tools that can scratch or chip the surface when removing snow from your concrete driveway. Opt for plastic shovels with smooth edges instead. Also, avoid using de-icing products containing salt, as they can accelerate concrete damage. Instead, opt for Safe Thaw or other non-salt-based ice melters.
Avoiding Chemical Exposure
Avoid exposing your concrete driveway to chemicals such as gasoline, oil, or antifreeze, as they can cause staining and deterioration. If accidental spills occur, clean them up promptly using mild detergent and water. Regularly inspect your driveway for any signs of chemical leaks and address them promptly.
100% Salt & Chloride-Free, Fast-Acting Ice Management Solution
Wrapping Up
When repairing a winter-damaged concrete driveway, resurfacing is the ideal solution. Resurfacing a concrete driveway restores its functionality and enhances its aesthetic appeal.
Following the step-by-step process outlined in this blog, you can successfully revitalize your driveway and ensure its longevity. Remember to assess the extent of the damage, clean the surface thoroughly, apply a suitable resurfacing product, and finish with a protective sealant.
Additionally, consider using Safe Thaw, a reliable ice melt solution, to prevent further damage during the winter months. With proper care and maintenance, your resurfaced concrete driveway will withstand future winters and serve you well for years.
Try Also Our Other Winter Safety Products
Safe Paw
The Original and #1 Selling Pet and Child Safe Ice Melt for over 20 years. Guaranteed environmentally safe – will not harm waterways and sensitive wetlands. Safe Paw can change how winter affects our planet.

Ice Traction (with Traction Magic™)
Ice Traction is your go-to winter solution for driveways, walkways, parking lots, and even black ice on the road. Unlike salt or ice melts, it delivers instant grip on snow and slippery surfaces with no wait time.
Just spread and go.
Instant Grip. Zero Melt Time.
Total Confidence on Black Ice