Diy Experiments: How To Make Dry Ice At Home

Unveil the exciting realm of sublimation by mastering the art and science of creating dry ice at home. Known scientifically as solid carbon dioxide, dry ice is a fascinating material recognized for its unique qualities and versatile applications.
Typically produced by cooling and pressurizing carbon dioxide gas until it solidifies, dry ice transforms into an ultra-cold substance with a myriad of uses. In this educational and engaging guide, we will navigate through the intricate process of fabricating this intriguing substance. So, gear up for an incredible journey into the scientific marvels that bring dry ice to life.

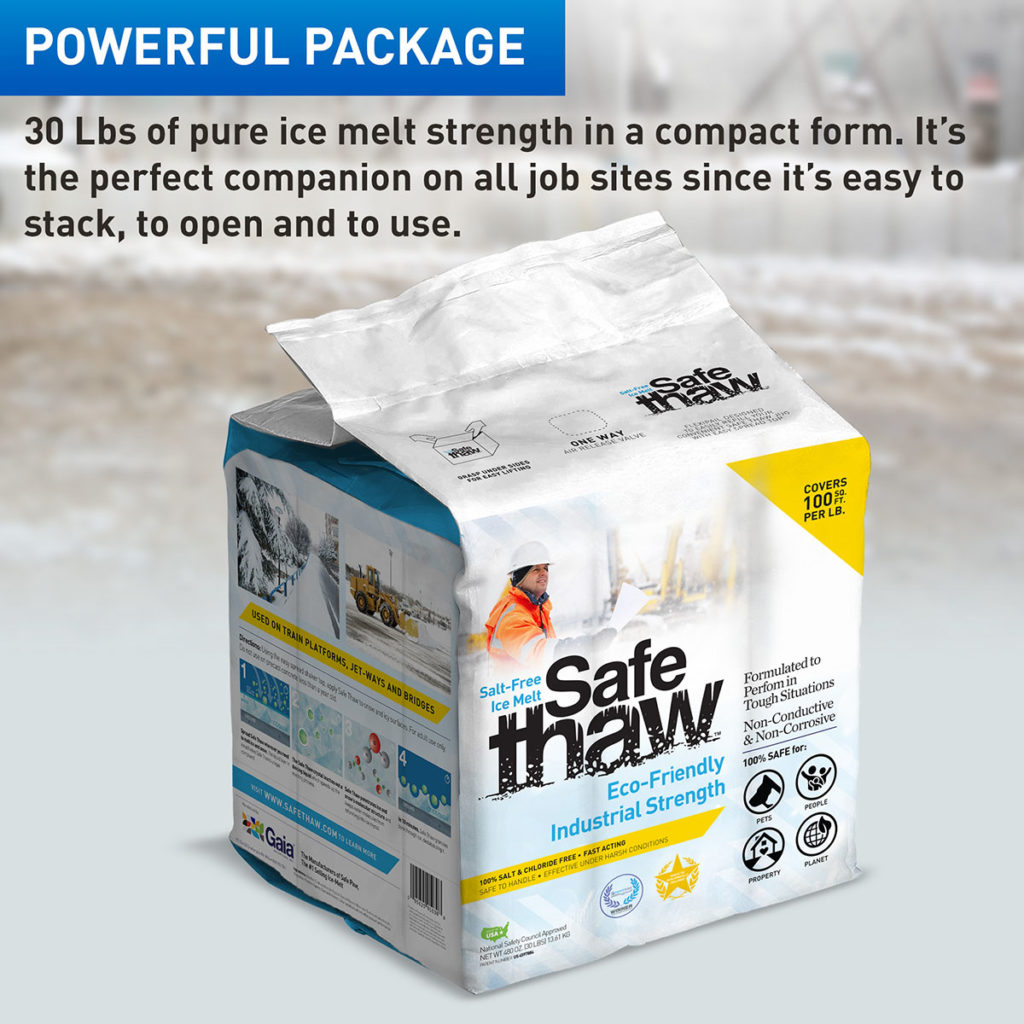
Safe Thaw
Safe Thaw was created as the ice management solution for tough winter environments. Ideal in commercial and industrial properties, shops, government agencies, bridges, and construction.
The Intriguing Science To Make Dry Ice
Dry ice, essentially solid carbon dioxide (CO2), is created by cooling and pressurizing its gaseous form. Characterized by an extremely low temperature of -78.5 degrees Celsius (-109.3 degrees Fahrenheit), it doesn’t follow the usual melting process of regular ice. Instead, it sublimates – transitioning directly from a solid to a gas.
As dry ice sublimates, it releases carbon dioxide gas, which is heavier than air and can displace oxygen. Therefore, it is imperative to use and make dry ice in well-ventilated areas to avoid potential health risks.
Often used for its cooling and freezing abilities, dry ice is invaluable for preserving perishable goods during transport or creating dramatic fog effects in the entertainment industry. Due to its extreme cold, dry ice can cause frostbite and must always be handled with gloves and appropriate safety measures.
A Step-By-Step Guide To Make Dry Ice At Home
Creating dry ice at home can be an educational and exhilarating experiment that allows you to produce solid carbon dioxide. Here’s a straightforward guide to make dry ice safely and efficiently.
Prepare Your Materials
Firstly, you’ll need to gather the necessary supplies. These include a carbon dioxide gas cylinder, a pressure regulator, a gas hose, a dry ice machine or container, and gloves to handle the finished product.
Ensure Proper Ventilation
Given the nature of carbon dioxide gas, choose a location with excellent ventilation to prevent harmful gas buildup. An outdoor space or a well-ventilated room would be ideal.
Set Up Your Equipment
Securely connect the pressure regulator to the carbon dioxide gas cylinder. Next, attach the gas hose to the pressure regulator and connect the other end to your dry ice machine or container.
Initiate The Gas Release
Slowly open the valve on the carbon dioxide gas cylinder to release the gas into the dry ice machine or container. The rapid expansion and cooling of the gas will instigate the process to make dry ice.
Collect Your Dry Ice
As the carbon dioxide gas cools, it condenses and forms solid dry ice. Allow the dry ice to accumulate in the machine or container. Always use gloves when handling dry ice to protect your skin from extreme cold and potential frostbite.
100% salt & chloride-free, fast acting Ice Management Solution
Safe Disposal Of Leftover Dry Ice
When it comes to disposing of leftover dry ice, safety is key. Instead of discarding it improperly, which could lead to pressure buildup and potential hazards, allow it to sublimate naturally in a well-ventilated area.
You can control the rate of sublimation by placing the dry ice in a container with a loose lid or wrapping it in a towel. Never seal the container tightly or use airtight bags.
For quicker disposal, consider a safe thawing method. For instance, Safe Thaw, an efficient ice melt devoid of salt and harsh chemicals, can be used. Submerging small pieces of dry ice in warm water and adding Safe Thaw can speed up sublimation while ensuring safety and environmental sustainability.
Remember, never discard dry ice in sinks, toilets, or other plumbing fixtures. The extreme temperature can cause pipes to crack or burst. By following these guidelines, you can handle any leftover dry ice responsibly.
Parting Thoughts
Making dry ice at home can be a thrilling DIY endeavor. By adhering to the straightforward steps outlined here, you can safely and easily produce your own dry ice.
Whether you’re gathering the necessary materials or carefully managing the production process, safety should always be at the forefront. The fascinating properties of dry ice – from creating enchanting fog effects to preserving perishable goods – make it a handy tool for various purposes.
Always handle dry ice with protective gloves and in a well-ventilated area. With patience and a meticulous eye for detail, you’ll marvel at the results you can achieve. So why wait? Have a blast and dive into the wonders of crafting homemade dry ice.
Try Also Our Other Winter Safety Products:
Safe Paw
The Original and #1 Selling Pet and Child Safe Ice Melt for over 20 years. Guaranteed environmentally safe –It won’t harm animals or children, and it won’t damage your property. That’s Safe Paw. Safe Paw can change how winter affects our planet.

Walk On Ice
The handy disposable canister can be taken everywhere, with the same 100% naturally occurring minerals that provide instant traction on ice or snow. Use it on sidewalks, steps, or as an instant traction agent for your car.


