3 Simple Steps To Renovate Your Concrete Driveway

The outside of your home is the first thing people see when they come to visit. It sets the tone of your entire property, so you want it to look its best. But if you have a concrete driveway, it can be hard to give it that finished look. Luckily, there are three easy steps you can follow to transform your driveway from a drab slab into a beautiful surface that will impress all of your guests.
But is there a safe ice melt for cement? Is there a deicer that is non-corrosive and effective? Fortunately, the answer is yes. So let’s learn more about how to give long-lasting paint to your concrete and keep it safe.
Concrete paints and stains conceal surface discoloration and wear and tear while extending the concrete’s life by preventing further deterioration. Painting a concrete surface can also make cleaning and maintenance easier.

Safe Thaw
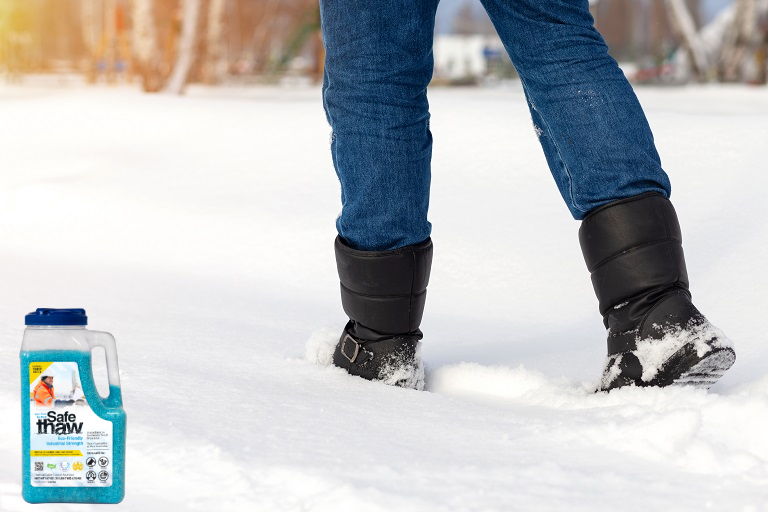
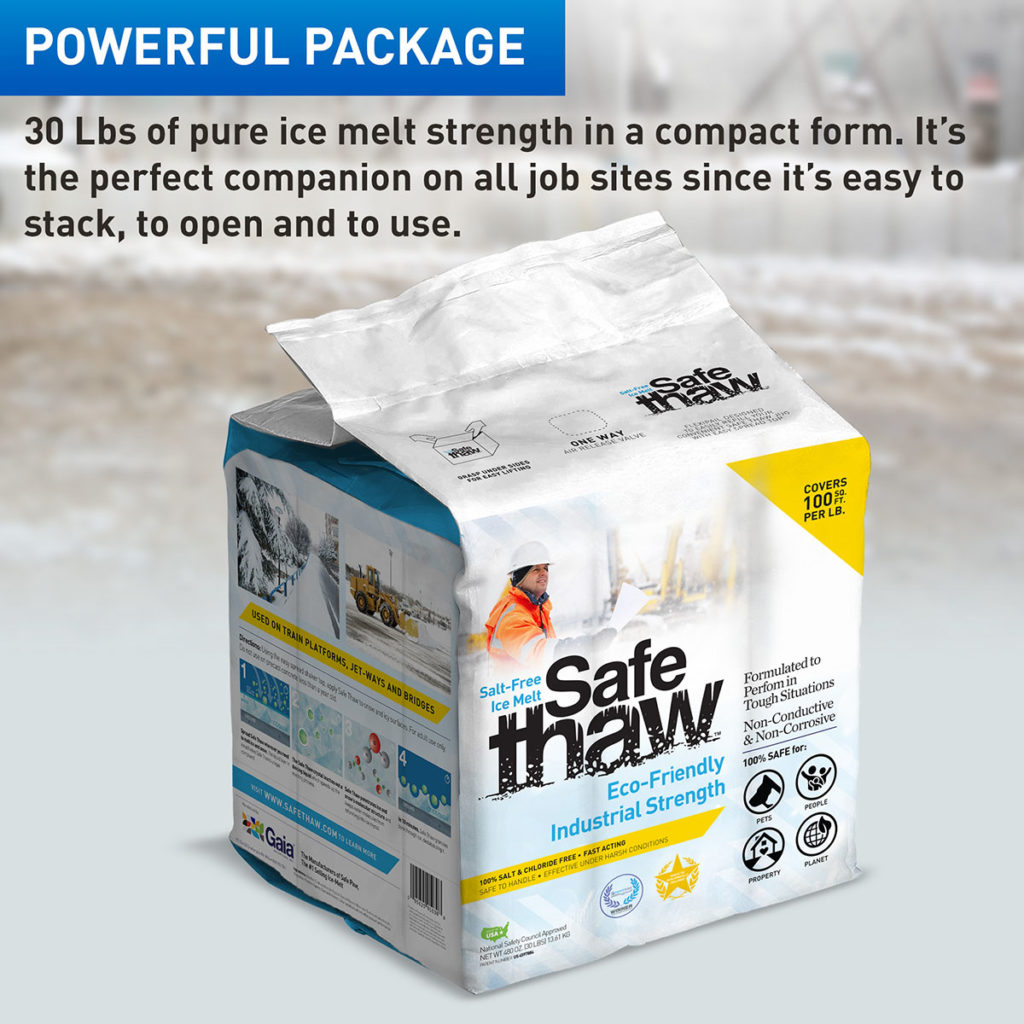
Safe Thaw was created as the ice management solution for tough winter environments. Ideal in commercial and industrial properties, shops, government agencies, bridges, and construction.
Step 1:
The first step to renovating your concrete driveway is to clean it. There are a few different ways you can go about this, but the most effective one is using a pressure washer. You may think that this will damage your driveway and make it look even worse than it did before, but fear not! Pressure washing will only remove dirt and debris from the surface of your driveway—not any sealant or layers that might have been applied over time by previous owners or contractors.
Cleaning the surface is the first step in any concrete painting or staining operation. After cleaning the concrete, use a concrete patch kit to repair any holes or cracks you find, allowing the material to cure before proceeding entirely.
Step 2:
Apply a thin layer of concrete crack filler over each crack and feather it out into the surrounding surface with a wide putty knife or trowel. Let dry for at least an hour before walking on it or driving over it; if you want overnight drying time, put down some plastic sheeting to protect your driveway from dirt and dust.
Pour some water on your concrete to see if it soaks in; if it does, the concrete is porous enough to be painted. Otherwise, use a concrete etching solution to roughen up the surface.
Step 3: Choose concrete-specific paint; masonry paints are thicker and more durable than most other types. Apply the paint with a masonry paintbrush or textured roller for complete coverage.
Is There A Safe Ice Melt For Cement?
Rock salt is often used to remove snow and ice from driveways and other similar surfaces. However, salt can damage the protective sealers, paints, and finishes that maintain your concrete in such a stunning condition. It is also possible for it to be hazardous to pets. Never use ice melt on concrete damage.
Instead of rock salt, you can use less corrosive and safer commercial ice melt products. Also, because most chloride-based deicers promote freeze-thaw cycling, you should avoid applying them on concrete the first winter after it’s poured.
100% salt & chloride-free, fast acting Ice Management Solution
Conclusion
You can use these three simple steps to renovate your own concrete driveway and make it look like the best on the block. It’s fun, satisfying work, and you can do it yourself if you have a small job that doesn’t require professional help. You can even save money by doing it yourself instead of hiring someone else!
Try Also Our Other Winter Safety Products:
Safe Paw
The Original and #1 Selling Pet and Child Safe Ice Melt for over 20 years. Guaranteed environmentally safe –It won’t harm animals or children, and it won’t damage your property. That’s Safe Paw. Safe Paw can change how winter affects our planet.

Walk On Ice
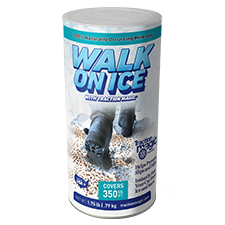
The handy disposable canister can be taken everywhere, with the same 100% naturally occurring minerals that provide instant traction on ice or snow. Use it on sidewalks, steps, or as an instant traction agent for your car.


